What quality control testing really does in manufacturing
Quality control testing isn’t about finding bad products at the end of the line. It’s about stopping defects before they happen. If you think QC is just a final check before shipping, you’re missing the point. The best manufacturers don’t wait for mistakes-they build systems that prevent them. This isn’t theory. It’s practice. Companies like Ford, Siemens, and NexPCB cut scrap rates by over 30% by shifting from end-of-line inspection to real-time monitoring at every stage of production.
Modern quality control follows ISO 9001:2015, which means it’s not just about checking boxes. It’s about risk-based thinking. Every step, from raw materials to final packaging, is evaluated for where failure is most likely. The goal? Catch issues early, when they’re cheap to fix. A defect found during assembly costs 10 times less to correct than one found after shipping. By the time a product reaches a customer, the cost could be 100 times higher-in returns, reputation, or recalls.
Step 1: Define clear quality standards
You can’t test what you haven’t defined. This is where most manufacturing teams fail. They say things like “it needs to be good” or “meet specs.” That’s not enough. Quality standards must be measurable, repeatable, and documented.
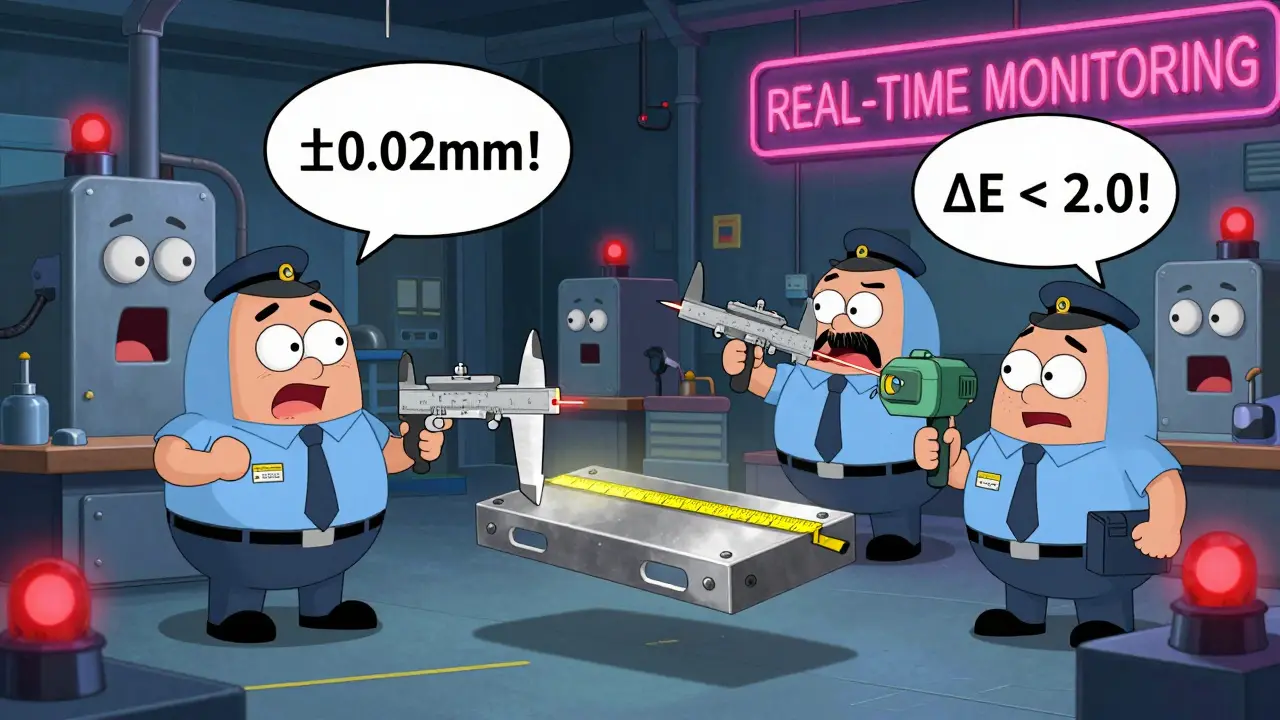
For example, if you’re making a metal bracket, your standard isn’t just “it fits.” It’s: dimensional tolerance ±0.02mm, surface roughness Ra ≤ 1.6 μm, color consistency ΔE < 2.0 on the CIELAB scale. These numbers come from engineering drawings, customer requirements, or industry standards like IPC-A-610 for electronics or ASTM E415 for metal composition.
Without these exact values, inspectors can’t agree on what’s acceptable. One person’s “close enough” is another’s reject. That’s why pharmaceutical manufacturers use pre-numbered logbooks and electronic records with audit trails-every decision is traceable. If you don’t write it down, it didn’t happen.
Step 2: Choose the right inspection methods and tools
Not all inspections are created equal. You wouldn’t use a ruler to measure a microchip’s trace width. You need the right tool for the job.
- For dimensional checks: Coordinate measuring machines (CMMs) or laser scanners
- For surface defects: Automated optical inspection (AOI) systems with AI-powered image recognition
- For electrical properties: Multimeters, impedance testers, or automated test equipment (ATE)
- For chemical makeup: Spectrometers following ASTM E415
- For visual checks: Trained inspectors using magnifiers under controlled lighting
Sampling matters too. In electronics, MIL-STD-105E is often used. For major defects, you might sample 0.65% of the batch. For minor ones, 1.5%. But here’s the catch: sampling only works if your process is stable. If your machine is drifting, no sample size will save you. That’s why real-time monitoring is replacing random sampling in top factories.
Step 3: Train your team properly
Tools don’t fix quality-people do. And if your operators aren’t trained, even the best system will fail.
At NexPCB, new inspectors get 24 hours of hands-on training before touching any product. They learn how to use calipers, interpret Cpk values, and recognize subtle defects like micro-cracks or solder bridging. Certification isn’t optional-it’s required. Teams aim for 95%+ proficiency before signing off on production.
Training isn’t a one-time event. It’s ongoing. When a new product line launches, or a machine is upgraded, retraining kicks in. And it’s not just for inspectors. Production supervisors need to understand control charts. Maintenance staff need to know how machine wear affects quality. Everyone owns quality.
According to ASQ’s 2022 survey, 68% of manufacturing sites reported inconsistent operator adherence. That’s not a tech problem. That’s a training problem.

Step 4: Monitor processes in real time
Waiting until the end of the line to find a problem is like driving with your eyes closed. You’ll eventually crash.
Top manufacturers now use IoT sensors, automated probing, and real-time data collection at critical control points. At Siemens’ Amberg plant, over 1,000 sensors feed data into a central system. If a torque value on a motor assembly drifts outside the 3σ control limit, the line stops automatically. The operator gets an alert on their tablet. The issue is fixed in minutes-not hours.
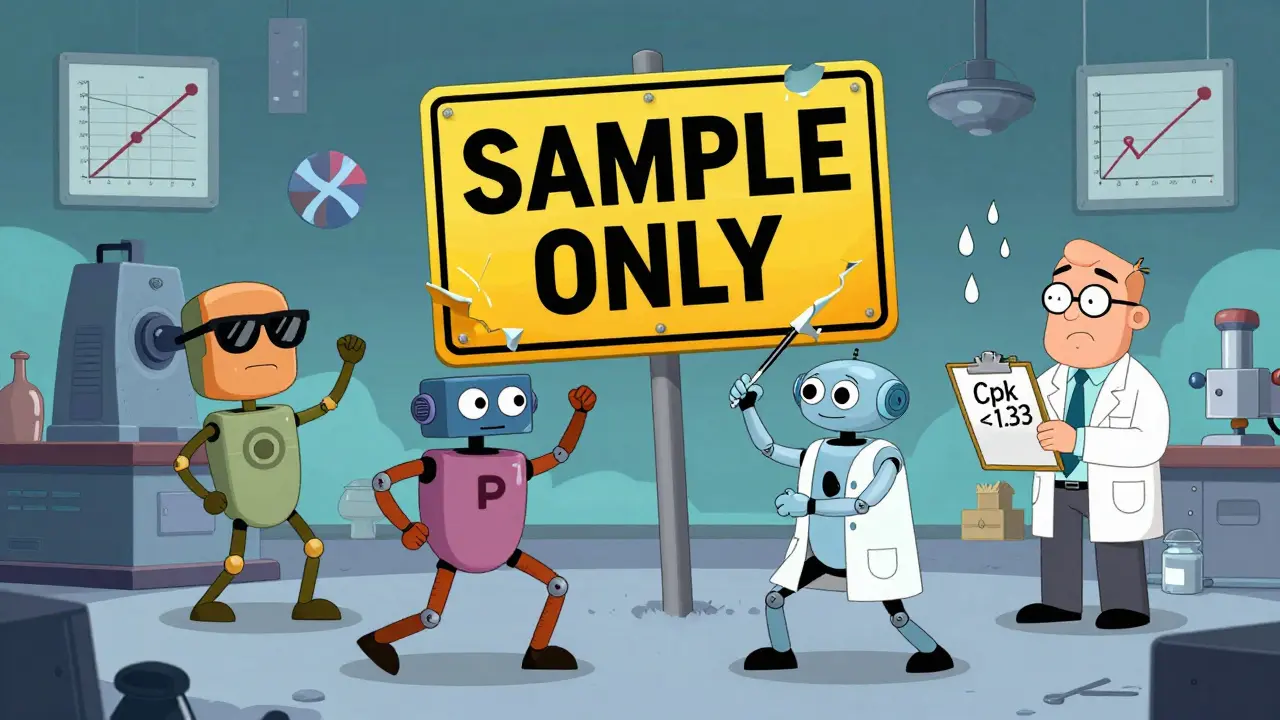
This isn’t science fiction. It’s standard in companies using Statistical Process Control (SPC). X-bar and R charts track variation over time. If your Cpk drops below 1.33, your process isn’t capable. It’s not “close.” It’s broken. And you need to fix it before you make 10,000 bad parts.
McKinsey found that manufacturers using real-time inspection reduced defect escape rates by 63%. That’s not a small win. That’s a game-changer.
Step 5: Analyze results with data, not gut feelings
Don’t guess why something went wrong. Look at the numbers.
Use software like Minitab or JMP to analyze trends. Is the defect rate higher on the night shift? Is it only happening after a weekend shutdown? Is it linked to a specific batch of raw material?
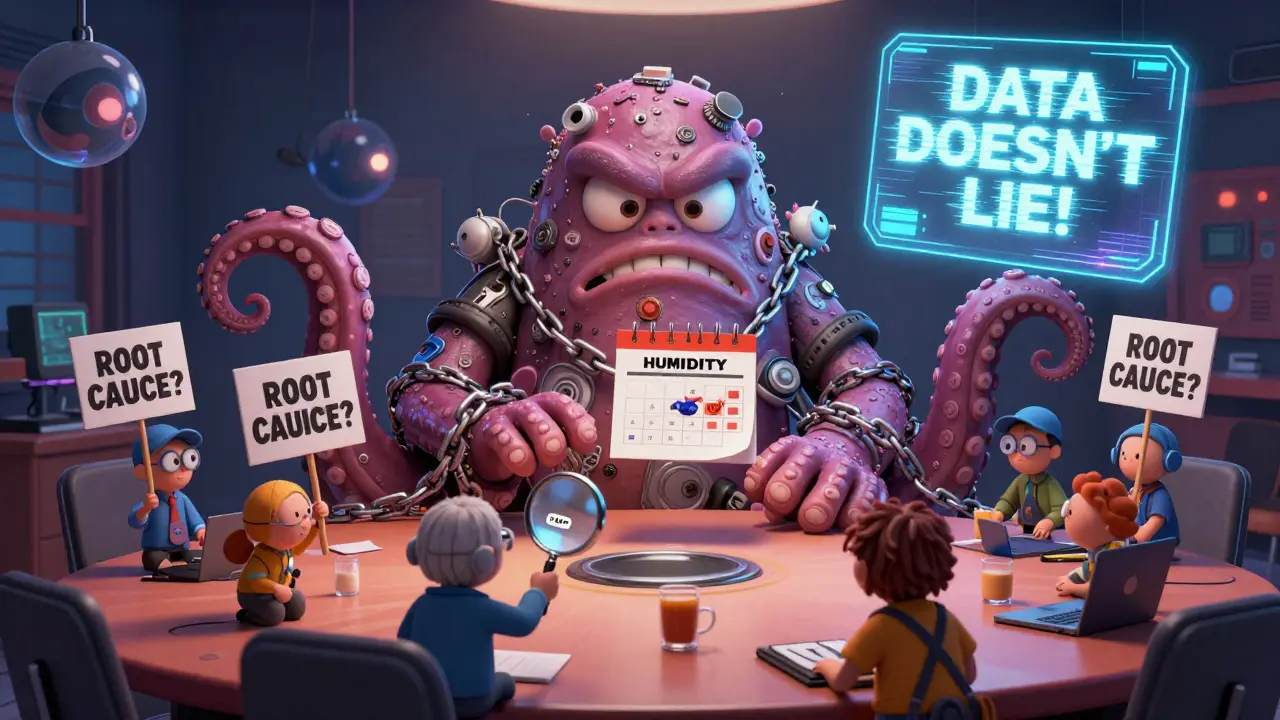
One pharmaceutical company noticed a 12% spike in tablet weight variation every Tuesday. Turns out, the humidity control system was turned off over the weekend and didn’t stabilize until midday Tuesday. A simple fix: leave the system running. No more defects.
Dr. Linda Zhang from NexPCB found that over-reliance on sampling without context led to 22% more false negatives. That means 1 in 5 bad products slipped through because no one looked at the full picture. Data doesn’t lie. But people who ignore it do.
Step 6: Take corrective action-fast
Finding a problem is only half the job. Fixing it, and making sure it never comes back, is the other half.
This is where CAPA (Corrective and Preventive Action) comes in. When a defect is found, you don’t just fix the part. You answer:
- What caused it?
- Why wasn’t it caught earlier?
- How do we prevent it again?
Pharmaceutical companies must complete root cause analysis within 72 hours, per PDA guidelines. Other industries follow similar timelines. Delays mean more bad product. And more bad product means more cost, more risk, more damage to your brand.
Effective CAPA includes updating work instructions, recalibrating machines, retraining staff, or changing suppliers. And every change is documented. No exceptions.

How much does this cost-and is it worth it?
Manufacturers spend 3.2% to 5.8% of revenue on quality control. Automotive companies spend the most-5.8%-because one faulty airbag can mean a recall of 500,000 vehicles. Consumer goods spend less-3.2%-but still see returns.
According to ASQ, companies with strong QC testing reduced scrap and rework costs by 32.7% on average. That’s not a cost center. That’s a profit driver.
And the ROI isn’t just financial. It’s reputational. In 2023, 78% of medical device manufacturers adopted the FDA’s “top-down” inspection approach because patients trust brands that prove they care about safety.
What’s changing in quality control today?
AI is no longer optional. In 2020, only 12% of Fortune 500 manufacturers used AI for visual inspection. By Q2 2023, that jumped to 37%. These systems spot defects humans miss-microscopic scratches, misaligned components, subtle color shifts.
Blockchain is being tested by 22 major pharma companies to create tamper-proof quality records. Digital twins-virtual replicas of physical production lines-are helping Boeing cut assembly defects by 31%. Augmented reality glasses guide inspectors step-by-step, improving accuracy by 22% in Toyota’s trials.
But here’s the truth: technology doesn’t replace Deming. It supports him. The best systems combine machine precision with human judgment. You need both.
Where to start if you’re new to quality control
If you’re a small manufacturer with under 50 employees, you don’t need a $500,000 automated inspection line. Start small:
- Pick one critical product or component.
- Define three measurable quality standards for it.
- Train your team on how to measure them.
- Start inspecting every unit-no sampling yet.
- Track defects daily. Look for patterns.
- Fix the biggest problem first.
It takes 4 to 8 weeks to set up a basic system. But within 3 months, you’ll see fewer returns, fewer complaints, and more confidence from your customers.
Quality control isn’t about perfection. It’s about progress. And every step you take toward better testing makes your business more resilient, more trusted, and more profitable.
What’s the difference between quality control and quality assurance?
Quality assurance (QA) is about building systems to prevent defects-like training, documentation, and process design. Quality control (QC) is about checking products to find defects-like inspections and testing. QA is the plan. QC is the check. You need both.
How often should QC equipment be calibrated?
Calibration frequency depends on usage and environment. Critical tools like CMMs or spectrometers should be calibrated every 3 to 6 months. Less critical tools like calipers may be calibrated annually. But if a tool is dropped, exposed to extreme heat, or gives inconsistent readings, recalibrate immediately. FDA warning letters in 2021 cited inadequate calibration in 41% of cases.
Can I use sampling instead of 100% inspection?
Yes-but only if your process is stable and well-controlled. Sampling works for non-critical items like packaging labels or color consistency. For safety-critical parts-like medical implants or automotive brakes-100% inspection is required under ISO 13485 and other standards. Never guess when lives are on the line.
What’s the most common mistake in QC testing?
Waiting until the end to test. Most defects are caused by process drift, not random errors. If you only check at the finish line, you’ve already made hundreds of bad parts. The best manufacturers test at every stage-raw materials, assembly, packaging. Early detection saves money and reputation.
Do I need software for quality control?
Not necessarily-but it helps. Small shops can start with spreadsheets and paper logs. But as you grow, manual systems become error-prone and slow. Software like Qualio or MasterControl automates data collection, alerts, and audit trails. It’s especially critical for regulated industries like pharma or medical devices under 21 CFR Part 11.
How do I know if my QC system is working?
Look at three things: defect escape rate (how many bad products reach customers), scrap/rework cost as a percentage of production, and internal audit nonconformities. If your defect escape rate is under 0.5%, scrap costs are falling, and your internal audits show fewer than 5% nonconformities, your system is working. If not, revisit your steps.

This is the kind of post that makes me wanna go back to my old factory job and actually care about the work again. Real talk - if you're still doing end-of-line checks like it's 1998, you're not just wasting time, you're burning money and trust. I've seen plants where the QC guy just nodded at stuff like it was a handshake deal. No numbers. No logs. Just vibes. And yeah, it blew up. Hard.
But when you actually define tolerances like ±0.02mm and track ΔE values? That’s when you stop being a manufacturer and start being a precision artist. The way NexPCB trains inspectors for 24 hours? That’s not expensive - that’s insurance. And the fact that they require certification? Hell yes. People aren’t machines. They need to know why their eyes matter.
I work in med device QA and this is spot on. The part about 100% inspection for implants? Non-negotiable. We had a supplier once who tried to push sampling on a cardiac clip. I shut it down hard. One failure = death. No debate. Also, calibration logs? If it’s not in the system with a timestamp and initials, it didn’t happen. FDA doesn’t care if your caliper was 'probably fine'.
And yes - AI inspection is a game changer. We started using it for micro-crack detection on titanium housings. Humans miss 1 in 20. The AI catches 1 in 1000. Still, we keep trained eyes on it. Tech helps. Doesn’t replace. Ever.
bro i just read this and i’m crying 😭 like… why didn’t anyone tell me this in college?? i thought qc was just holding up a ruler and saying ‘meh close enough’ 🤡 now i feel like i’ve been working in a cartoon this whole time
also can we talk about how the night shift defect spike thing?? that’s wild. humidity?? like… who even thinks of that?? 😳
Let’s be real - this whole ‘real-time monitoring’ thing is just corporate buzzword bingo. You think Siemens’ plant is running on magic sensors? Nah. They’ve got 300 engineers watching screens 24/7. It’s not automation - it’s surveillance dressed up as innovation. And don’t get me started on ‘AI detecting micro-scratches’. I’ve seen those systems flag a dust speck as a defect 17 times in a row. Then the human has to go fix the AI. Who’s really doing the work?
I’ve been in small manufacturing for 12 years. We started with just a notebook and a caliper. Took us 6 months to get to 100% inspection on our main part. First month? 40% scrap. Second? 28%. Third? 15%. Now we’re at 3%. Customers notice. They ask if we’ve changed something. We say ‘nope - just started paying attention’.
Didn’t need software. Didn’t need fancy machines. Just consistency. And someone who actually cared enough to write down what ‘good’ looked like.
Ah yes. The classic ‘follow the steps and profit’ fairy tale. Tell me, how many of these ‘top manufacturers’ are actually in the US? Or are we just reading case studies from companies that outsource everything to China and then brag about their ‘IoT sensors’? The real QC problem isn’t tools - it’s capitalism. If you’re pressured to cut costs, you’ll always cut corners. No algorithm fixes greed.
The emphasis on documented standards and traceability aligns with ISO 9001:2015’s core principles. Organizations that treat quality as a reactive function rather than an integrated process are inherently vulnerable to systemic failure. The data cited - particularly regarding cost escalation from assembly to post-shipping defects - is well-substantiated in peer-reviewed industrial engineering literature. Implementation requires cultural commitment, not merely procedural adoption.
I’ve seen this movie before. They come in with their spreadsheets and their Cpk charts and their ‘AI-powered’ cameras. Then the plant gets sold. New owner. New priorities. Suddenly the calibration budget gets cut. The training gets ‘paused’. The logs stop getting updated. And then - boom - recall. Again. Because no one ever fixed the real problem: leadership doesn’t care until someone dies. Or the stock drops. Or the news hits. Then they cry. Then they blame the QC team. Then they hire a new one. And the cycle repeats. We’re not fixing systems. We’re just rearranging deck chairs on the Titanic. And someone’s gotta pay for the champagne.